Are you wondering How To Wrap A Sword Handle? do not bother yourself more your hunt is closed you are at the right place we at BestDamascusKnife giving you guidance on How To Wrap A Sword Handle. It is not all that difficult to make a conventional sword handle wrap that seems much more useful than what most maximum production swords arise with. All you require is some leather, some rope, some wood glue, and some tolerance.
This tutorial is nothing unusual – but is based on a plan done by SBG member dustinf11 on a Hanwei Rhinelander Sword – but feel free to adjust the style and location of the risers to most useful suit your tastes.
Stuff Required:
- Dismantled wooden handle core
- Twine (You should not utilize twine with a wax coating, it feels extremely annoying afterward)
- Leather
- Glues
Guide: How To Wrap A Sword Handle
Guide How To Wrap A Sword Handle
The first item you require is the dismantled wooden core – which you can unless making yourself or strip back sand, and contrarily make the original.
It is eternally a gentle feeling when making a sword handle wrap to attach a ‘riser’ for a further easy grip and to combine visible interest. Therefore you will need to point out on the wood core where your riser (or risers) will be placed.
Then skeeve out a strip of leather, spinning it with sandpaper, and glue it into place applying super glue.
Now glue down the first inch – this gives support for dragging the rest throughout the firm. Touch firmly and verify that it has seized after approximately 20 seconds. It should have a strong grip by then but not extremely hard you can not yet rip your fingers off if they have fastened.
Then proceed to glue the remainder of the riser down a few centimeters at a time. Before sticking the last bit below the mark where it will connect with the origin, check it with your fingernail, then cut it simply before that point. The leather will cheerfully stretch an additional millimeter, but you do not need it bunching at the mutual and lifting off the wood or to the side.
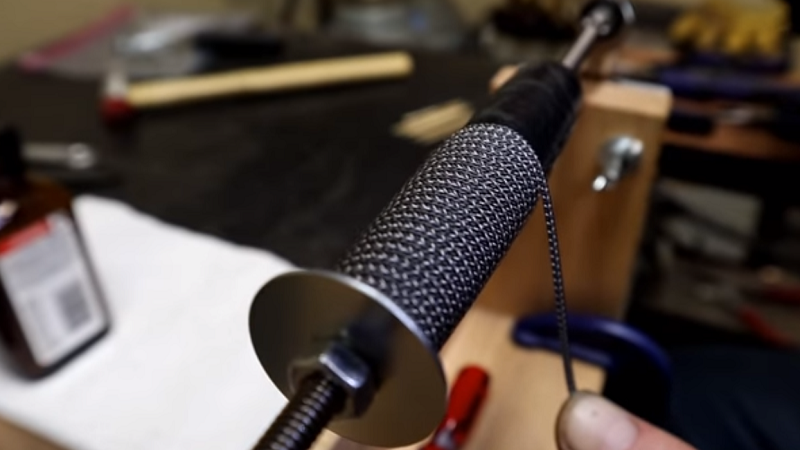
The next move is to wrap the wood core with a diameter of twine with wood glue to provide it that cord wrapped feel that is very familiar, but that very rare composition swords have.
If extremely wanted, furthermore modest risers can be attached to the sword handle wrap utilizing hemp cord dipped in wood glue – which when it drains has the texture of wood.
All your risers are on. You need to begin the leather wrap. Take/cut a fine piece of delicate leather, that you have checked will make it throughout the grip with perhaps a half-inch overlap (to be cut off later), and let about an additional inch at each end. Now make a straight cut down one side to provide you a real straight starting point. Utilize a steel rule and hobby knife.
TIP: For the most immeasurable results, utilize a paper towel and wet the leather for 10 to 15 minutes before wrapping. Do not oversoak – an excellent way to examine the leather to view if it is absorbed through is to use your fingernail, and lightly make a check in the leather. If the leather holds the mark, yet after you brush the water away, then it is ready to bind.
To stick that straight edge down by one narrow side of the handle (you do not need to be watching at it on the plane face). Utilize 5-minute epoxy or this work will need a week. You are just joining glue to a half-inch strip of the grip at this time. Utilize a generous coat of glue but not extremely thick or it will touch out into areas you do not need it, either providing you lumps or sticking down leather you do not need to be glued down at the instant. Make assured the glue goes over the risers additionally.
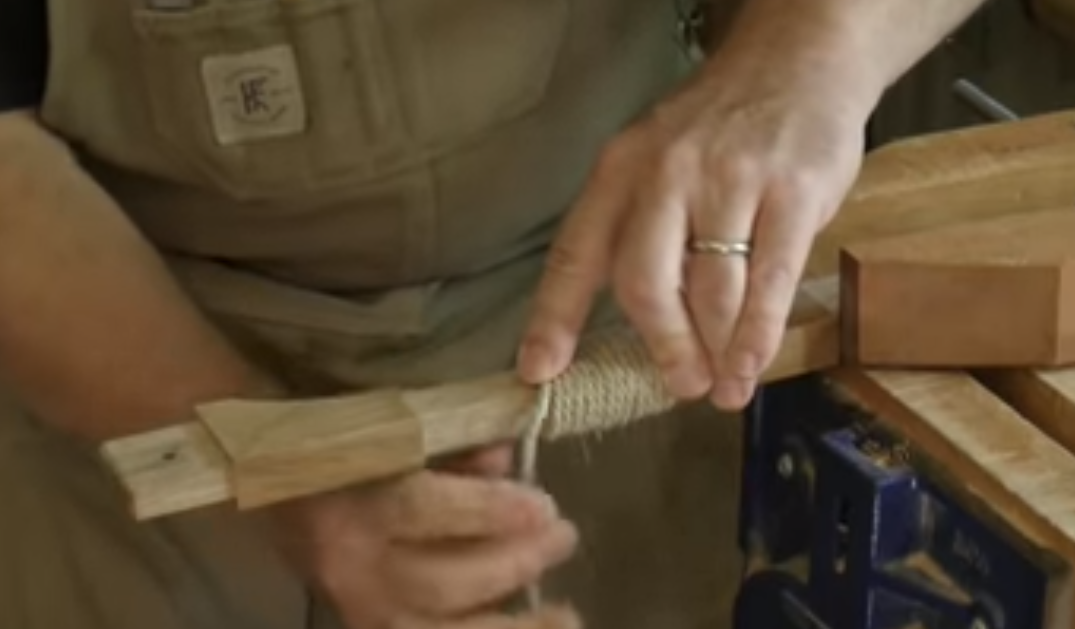
Set the leather in a straight line under the side of the handle. Now bring your roll of cotton cord and wrap it throughout the entire body to touch the leather down firm, and be assured to strap it down into the gaps by the risers tightly to show off those risers.
You will be informed that the opposite end of leather would overlap the sticky section and you do not need that, or it will stick down unexpectedly, therefore fold that piece of the leather over doubly so it is bunched neatly on the front of the grip out of the way. When you are fortunate it is placed exactly and strapped down the firm go watch TV for 10 minutes, or check the drama on the forum. 5-minute epoxy enables you approximately 3 minutes of working time and needs approximately 10 more extra minutes to go hard.
What I will do here is to get a fine ballpoint pen that is a fit color with the leather, and work it along on the low side of the ridge where the leather overlaps. That will then reveal to you where you require to cut your leather.
Now cut the leather with sharp scissors on the distant side upon the pen line – therefore you are holding the inked bit. If you cut off the ink your leather will be extremely short.
Go forward and stick that down, repeatedly making for excellent glue coverage. Touch the leather so it snuggles in and does not make a ridge, and you should have a joint with no holes and no bumps either.
Through this step, you have nearly finished the sword handle wrap –
If you have a detachable grip I perceive an advantage in being ready to tuck the leather in over the ends of the grip. It gives a concentration place for when you stretch your hilt, eliminating the pressure from the wood of your grip. Additionally, it stops lifting the leather.
If your grip is permanent, I would especially make assured all the grip is fixed so there are no lefty spots, and I would take an Exacto knife and cut by the intersection of the guard and pommel for a crisp finish. Though I have perceived Albion and several others leaving 1/8 inches to overlap over the guard and pommel, therefore I think that is satisfactory.
For the detachable grips, you will see that the leather pleats at the edges when you wrap it over, therefore I remove various little triangles with sharpened shears, where the pleats would be, therefore it folds down in one coat simply and precisely. To stick it down you can either apply superglue which is fast and simple, as the confining fit will keep them set once it is compiled or for epoxy, you will necessitate to touch the flaps in with your fingers as you join the components and stretch your hilt down why they hard.
And there you have it – a brand new much extra charming and classy looking sword handle wrap – and the most beneficial part is, it is uniquely your own.
One more major point – while this sword handle wrap method is originally intended for medieval swords, there is no reason why it cannot be applied to any other sword type.
One more further sword handle wrap method – the Shammy!
If you do not have a path to or cannot afford leather, there is a budget alternative that has been famously utilized by members of the SBG forum to do a sword handle wrap on the budget utilizing a natural (not synthetic) Shammy!
The process is the same – wrapped twine throughout the exposed wood, and then wood glue to wrap damp chamois leather (like you utilize for washing cars) over the top of it. To provide it that ribbed appearance, just wrap twine throughout the outside of the leather while it was draining. Cut the twine off the outside when it was done and apply a shoe polish to provide it the brown color, and then coat it with paste wax and viola!
With choices to add risers, leave the surface soft or ribbed, and of course, any color leather or polish you desire to apply – this easy way to do a sword handle wrap can be transformed or converted to produce a myriad of various styles and designs.
Have fun!
Editor’s Recommendations
- How Tall Is A Kitchen Table
- How To Make A Knife Sheath
- How To Fight With A Knife
- How to Use a Knife for Self Defense
- What is Kydex
- How Should Hiking Boots Fit
- How to Wash Hiking Boots
- How to Hold a Sword
- How To Use An Exacto Knife