Do you want to save time on the kitchen update? Think about how to paint kitchen cabinets without sanding. Read our Guide at BestDamascusKnife to learn how to paint kitchen cabinets without sanding.
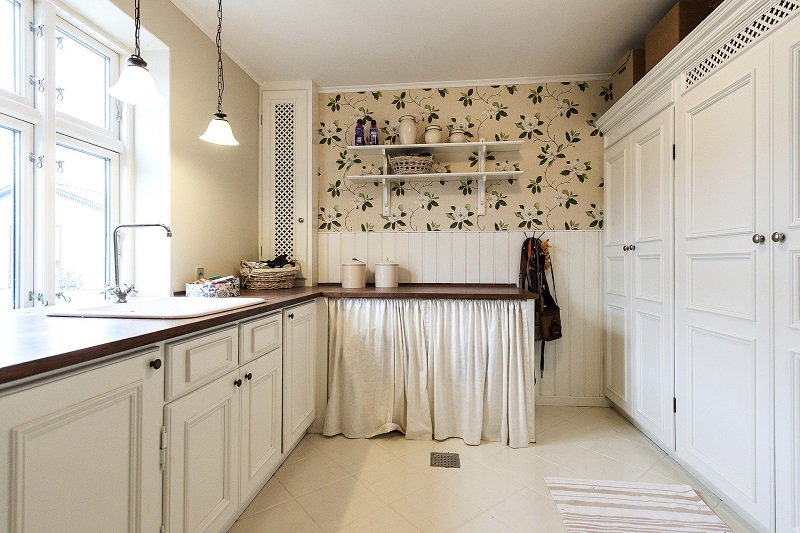
If you desire to furnish your cabinets with an immediate update, fresh paint color is a simple and cost-effective weekend DIY alternative. To make the plan go a little faster, you can get by without sanding the furniture first. It just needs a tiny plan.
Can You Paint Over Furniture Without Sanding?
Hopping the sanding move is OK if you are creating a transition from one recently painted exterior to a different, or painting new, naked wood cabinets.
If your furniture is broken or has stripped paint or especially shiny exteriors, either from the material or a shiny coat, you will reasonably want to gently sand to help the original paint bond better. But if the doors are not slick to the touch, you can skip the sanding action, as long as you do a few bits of prep head!
If you do not require to sand before you beginning, utilize some mineral spirits and a harsh sponge to clean and gently rough up the furniture area you are painting. This does not open up the wood cabinet element as much as sanding but does prepare you some extra grippy section for the introduction to adhere to.
Step By Step Guide: How To Paint Kitchen Cabinets Without Sanding
Step By Step Guide How To Paint Kitchen Cabinets Without Sanding
Follow these actions for painting your furniture without the combined step of sanding them down first.
- Purchase a cupboard painting material and prepare the paint tinted to your inclination. Excellent marketing materials include a de-glosser to eliminate any older layers of paint on existing cabinetry. The de-glosser reduces the necessity to sand or prime exteriors that are previously completed.
- Create a design of the cupboards, adding each cupboard and drawer front. Before you raise the cabinet doors and drawer fronts, tape similar numbers to them.
- With soap and water, clean and clear cabinet doors, drawer fronts, and cabinet surfaces to be painted, giving more awareness to oily spots.
- Separate cabinet doors and drawer fronts and eliminate any guards.
- When operating on every door and drawer front, raise the number but hold the tape nearby so you do not lose the path of which door or drawer front goes where.
- Using gloves and utilizing a scouring pad, paint on the de-glosser liberally in the way of the grain; then wipe cabinets down. Utilizing a soaked rag, clean the surface, making assured you have eliminated all the finish. Turn to a clean, dry rag and wipe the whole surface. The coating should now be matte.
- Allow it to surface dry for approximately an hour.
- Make assured you have concealed off areas in the kitchen you do not need to get paint on.
- Use a bond layer with a 2 inches synthetic brush in the direction of the grain.
- Use bond layer to cupboard frames.
- Allow the bond layer to dry for 2 hours.
- Use another coat and allow dry for approximately 2 hours.
- Implement last protective (poly) topcoat (this continues a slight sheen and some security).
- Allow dry for 12 hours.
- Fix hinges and drawer draws back on (or attach new hardware) and reinstall cupboard and drawer fronts.
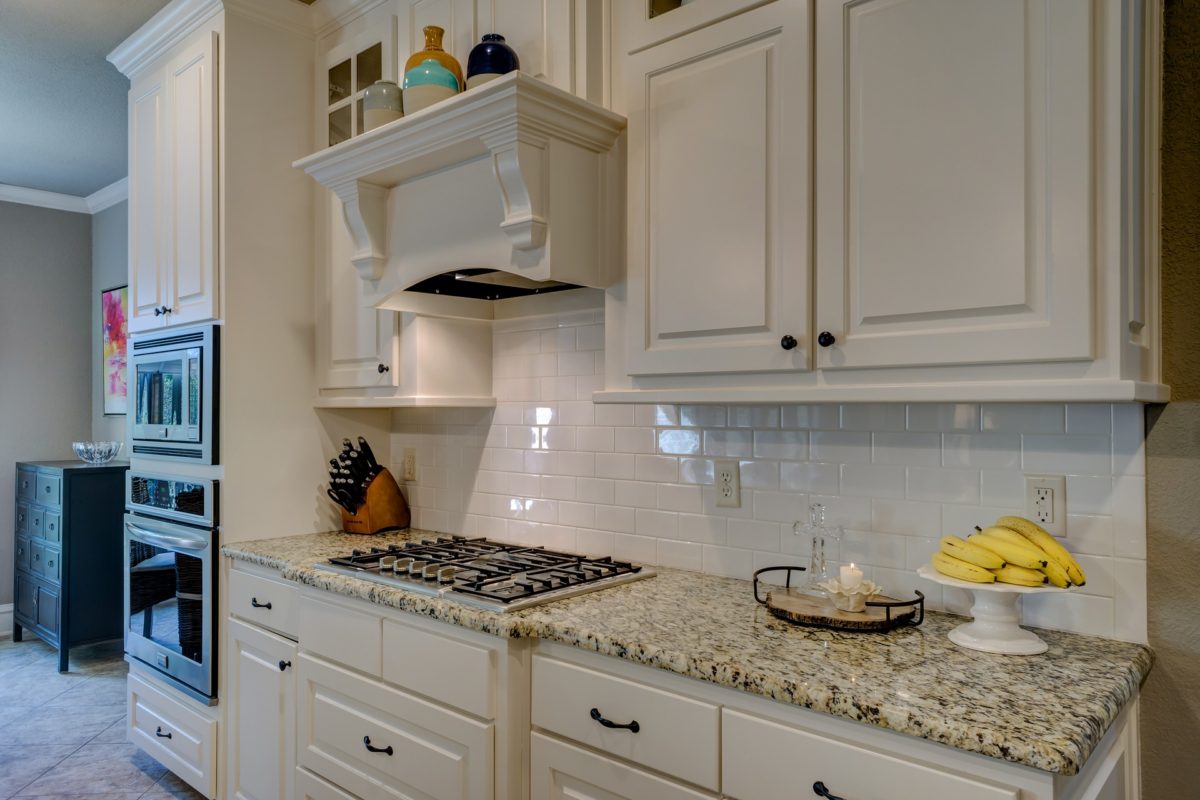
Most useful Paint for Wood Cabinets
Begin with the proper primer. You are going to need that fabulous paint to seize the outside of your furniture. Primer benefits it continues and covers up old spots and dark colors—necessary if you are moving from dark to light shades.
Make assured your primer is created for performance on cabinetry (preferably of plaster walls). View for methods with “bonding primers” made for hard-to-tackle exteriors.
The more excellent quality paint you can purchase, the more reliable your results will be. In the kitchen, you additionally need a hard-working paint that can take the heat (and moisture) of your everyday culinary efforts. Watch for methods with high percentages of titanium dioxide pigment, rather than the cheaper calcium carbonate.
For kitchens, much similar to bathrooms, we advise moisture and mildew-resistant paint that would not peel, even when it is ruled too much of steam. A satin or semigloss paint works excellently in the kitchen.
It is created particularly to address the smells of an active kitchen are new paints and varnishes that require to absorb new odors, not only mask old ones.
Elements Required for This Project
You do not forever have to sand, but you should make assured that your cupboard exteriors are pretty clean. You would not need to go by all the difficulty of painting simply to have it dropping off months later!
- Wash all exteriors with a great grease-cutting soap, like dish soap and water. You can additionally utilize a blend of vinegar and water in a spray bottle. Or utilize straight vinegar left on for approximately 5 minutes, to soften any tough grease.
- Take a soft scrubber. Require to hit a bit of angled cupboard trim? You can get at those pesky grease splatters and dried spaghetti seasoning with a microfiber sponge or a product like a Mr. Clean magic eraser.
- Pick the best paintbrush for the task. To use your primer and paint to cabinetry, we prefer a 2½-inch angled brush and a small 4 to 6 inches roller.
Editor’s Recommendations
- How To Mix Dough Without A Mixer
- How to use a dough whisk
- Dough Hook Alternative
- What Is A Flat Whisk Used For
- Why Do You Need Dough Whisk
- Why Every Baker Needs A Danish Dough Whisk
- Dutch vs Danish
- How to seal the chalk paint kitchen cabinets