Cutting a carpet may look like a simple task, but there is an art to doing this job. Whether you are placing it in or picking it up, understanding the more delicate points of cutting carpet can save your precious time and investment. The foremost thing to remember is to utilize a knife that is sharp enough to let you operate fast and with the required accuracy and control. Beyond that, it is just a matter of using your time to evade disasters and see that the carpet combines seamlessly with the design of the room. So, we at BestDamascusKnife are going to tell you How To Cut Carpet? In three different ways.
How To Cut Carpet In Three Different Methods
How To Cut Carpet In Three Different Methods
1st Method: Creating Clear Cuts
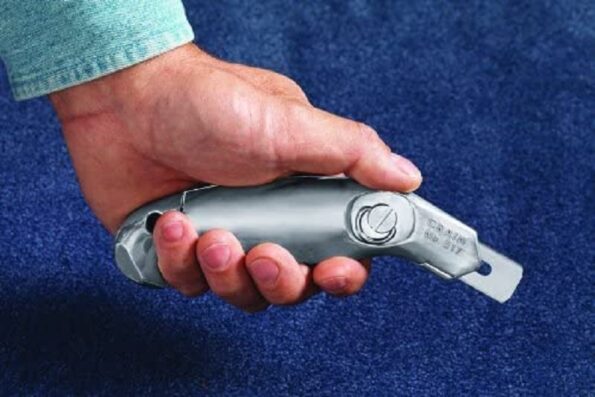
1: Begin with a sharpened knife. This will be an important and perhaps the single tool you will require to cut carpet. A regular utility knife is better, though something like an X-Acto knife or razor can further do this job. Whatever you use, make assured the edge is fine and sharp.
-
- If you are applying a utility knife with a detachable blade, take a minute to enter a new one before you started.
- You might additionally use a handheld electric carpet cutting tool. These devices highlight enduring edges and automated cutting performance, which can support you sidestep the complexity of doing it manually.
2: Put the tip of the knife on the carpet. Take a knife in your hand so that the angled edge of the blade is aiming away from you. Place the blade downwards and touch the tip to your origin point on the carpet. Then, hold down just enough to enter the carpet’s tough backing.
-
- Cutting a carpet is often a subject of going through the backing, which is the dense, flat side that places flush upon the floor.
- Do not jam the blade into the carpet too deeply. You might break your knife, or even mark up the underlying flooring.
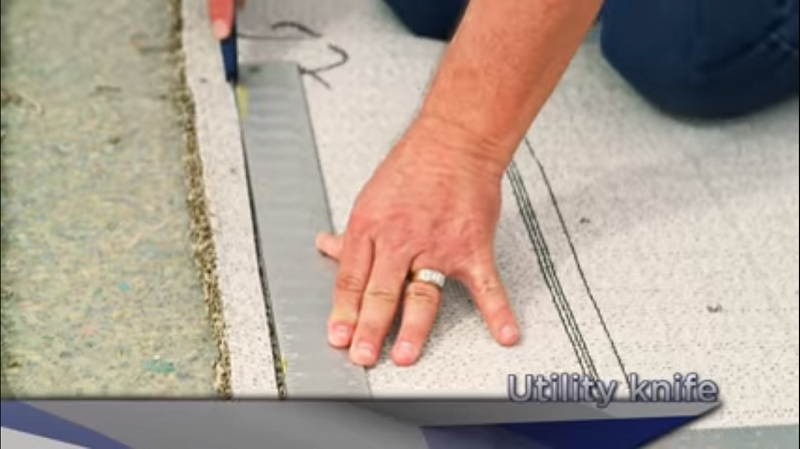
3: Move the blade forward in a straight line. Once you have got the tip by the carpet, pull back on the knife applying slow, steady motion. You should be ready to feel the backing give way beneath the blade. Use a straightedge to control your actions, and rest every two or three feet to reposition before you continue cutting.
-
- Hold your wrist fixed to evade getting sloppy or rough cuts.
- If you do not have the benefit of a straightedge, try feeling for one of the seams in the underside of the backing. Following a seam will support you to make good, even cuts.
4: Replace your knife blade as required. Your original blade will soon lose its edge after slicing through various feet of the tough backing material. To hold the design going along, be assured to have a new blade on standby. Working with a dull blade will just slow you down.
-
- It may look like trouble to have to keep stopping to change blades, but it will protect you essential time and labor in the long run
2nd Method: Cutting A Carpet for Installation
Cutting A Carpet for Installation
1: Measure your work area. Use a strip measure to get the length and width of the place you are carpeting. This will provide you a concept of precisely how much carpet you will require. It will additionally make it simpler to cut each segment to the proper specs.
-
- Most utmost rolls of carpet become in widths of 12 feet, therefore be assured to take this into account when planning out the most reliable way to cover the floor.
- To discover the internal area of the room, multiply the length of the room (in feet) by the width.
2: Operate a few feet at a time. The solution to placing a professional-looking rug is to take your time and deliver each section the same amount of attention and consideration. Unroll the carpet as you go, departing it into more flexible strips. Cut two or three feet, then scoot back and continue cutting from a comfortable position.
-
- The roll itself can work as a useful reference for tracing straight lines.
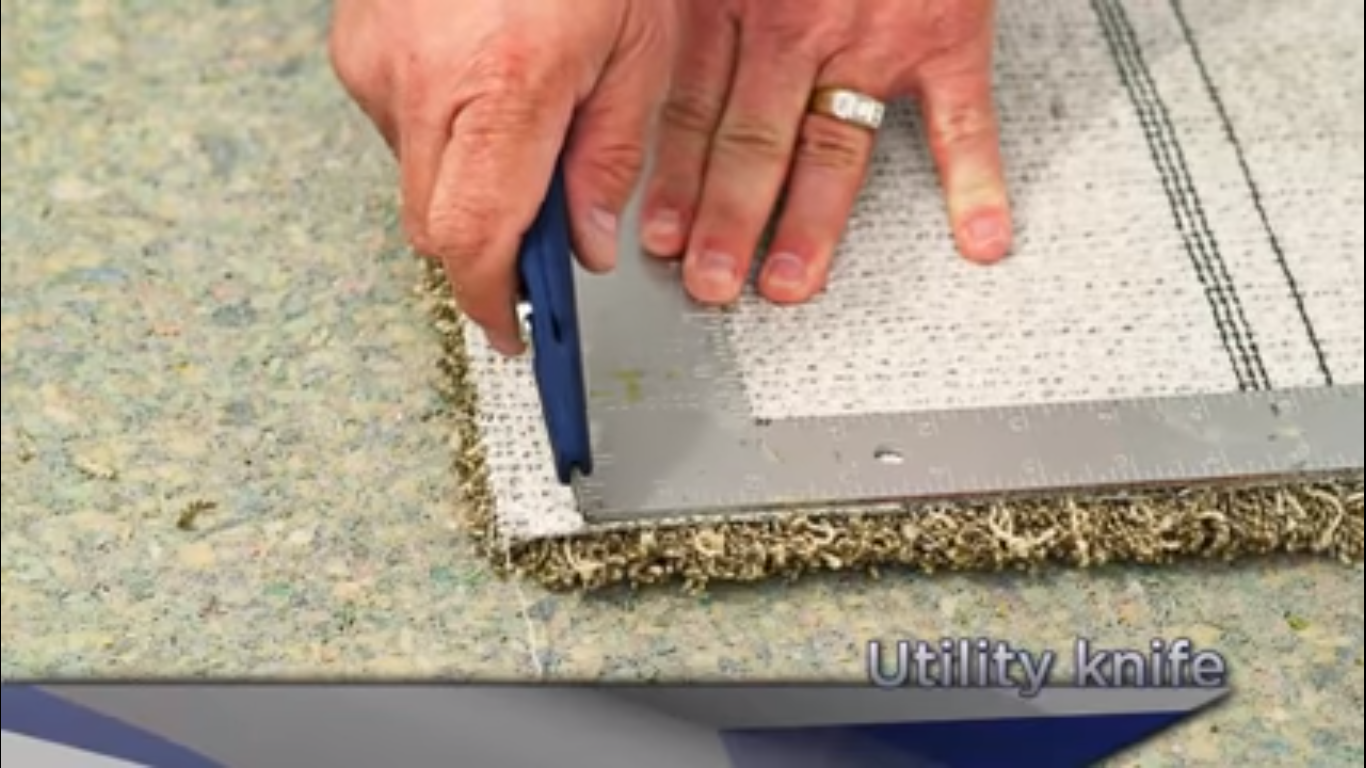
3: Do your cuts on the backside of the carpet. Whenever space enables, fold the carpet rollover, and move your knife straight over the backing to produce a more precise cut with less effort or guesswork. The backing is solid and flat, which implies you would not have to struggle your way by the thick piling.
-
- Mark the backing with a pencil or permanent marker to show where you lack to cut, or simply use the intersecting joints as a handy visual reference.
- Rolling the carpet will further build a more stable cutting surface, stopping you from scarring the flooring underneath.
4: Cut precisely around edges, shapes, and openings. For some designs, it may be required to leave space for a fireplace, a part of the tile, or some other part of detailing. Measure these areas first so you will know how much carpet you require to trim. If you are concerned about making a blunder, you can gently score the carpet on the first pass before committing to the cut.
-
- It may be necessary to do a mockup of the cuts you plan to make on a scrap piece of cardboard first.
- Complicated cutouts may be best left to the experts.
3rd Method: Removing The Old Carpet
Removing The Old Carpet
1: Apply the tip of the knife to open up a hole in the carpet. Start with a segment some feet away from the wall. Create a slit about 4 to 5 inches long—it should be large enough to easily slip your hand into.
-
- Cutting the carpet every few feet will be helpful for large or oddly-shaped places where you are unable to lift it in one piece.
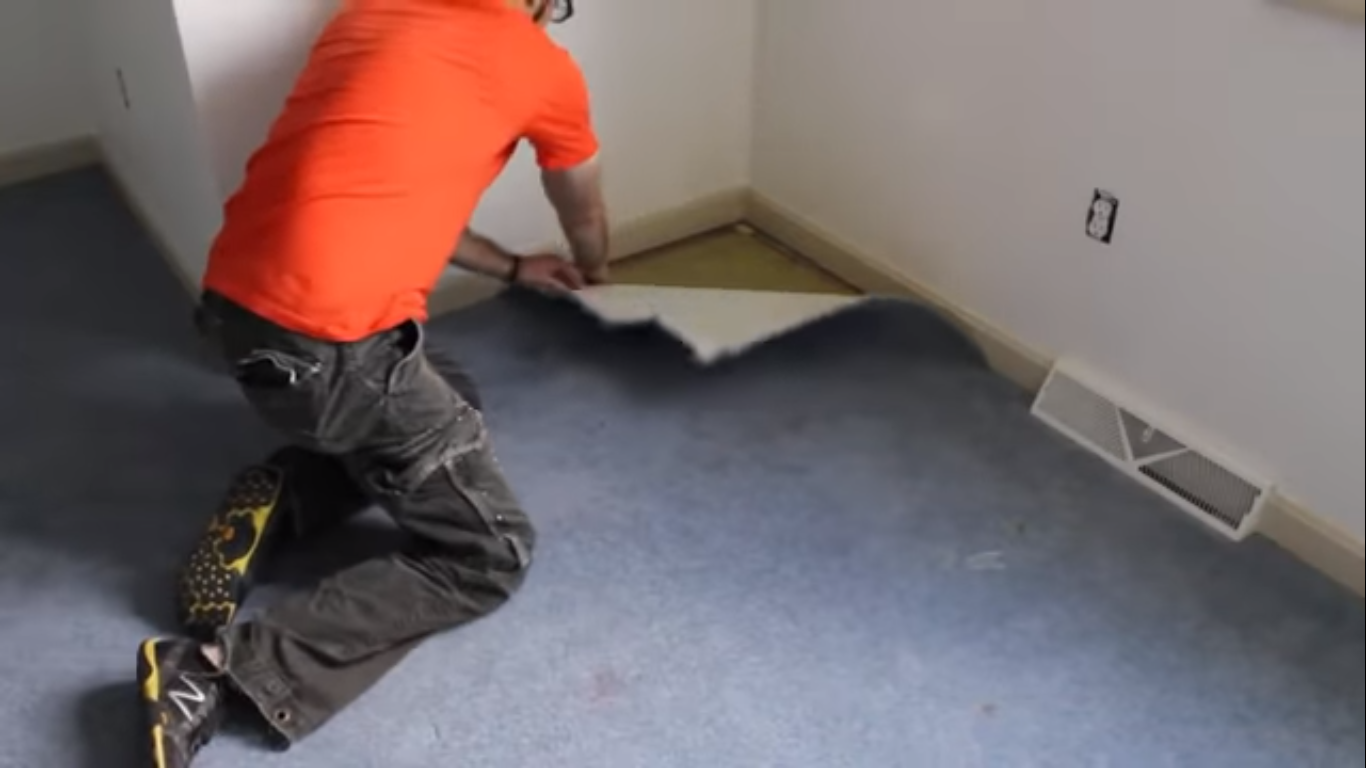
2: Pick up on the loose carpet with your free hand. Enter into the hole you just cut and lift the carpet apart from the floor. You can now stop cutting without your knife ever getting into touch with the flooring.
-
- If your carpet is tacked down with staples or adhesive, it may need a little energy to get it started by hand. Use a putty knife to chip away at one edge continuously till there is enough to take hold of.
3: Proceed cutting the carpet as you pick it up. The united action of lifting and cutting should enable you to cut away large pieces in very little time. After every few feet, go back and get a new grip on the relaxed edge. When you have cut over a collapsed segment, peel it back, roll it up and set it apart somewhere out of the way.
-
- Since you will be driving the old carpet out, there is no requirement for accuracy or delicacy here.
- Do not get into too big of a rush—that is how accidents fall.
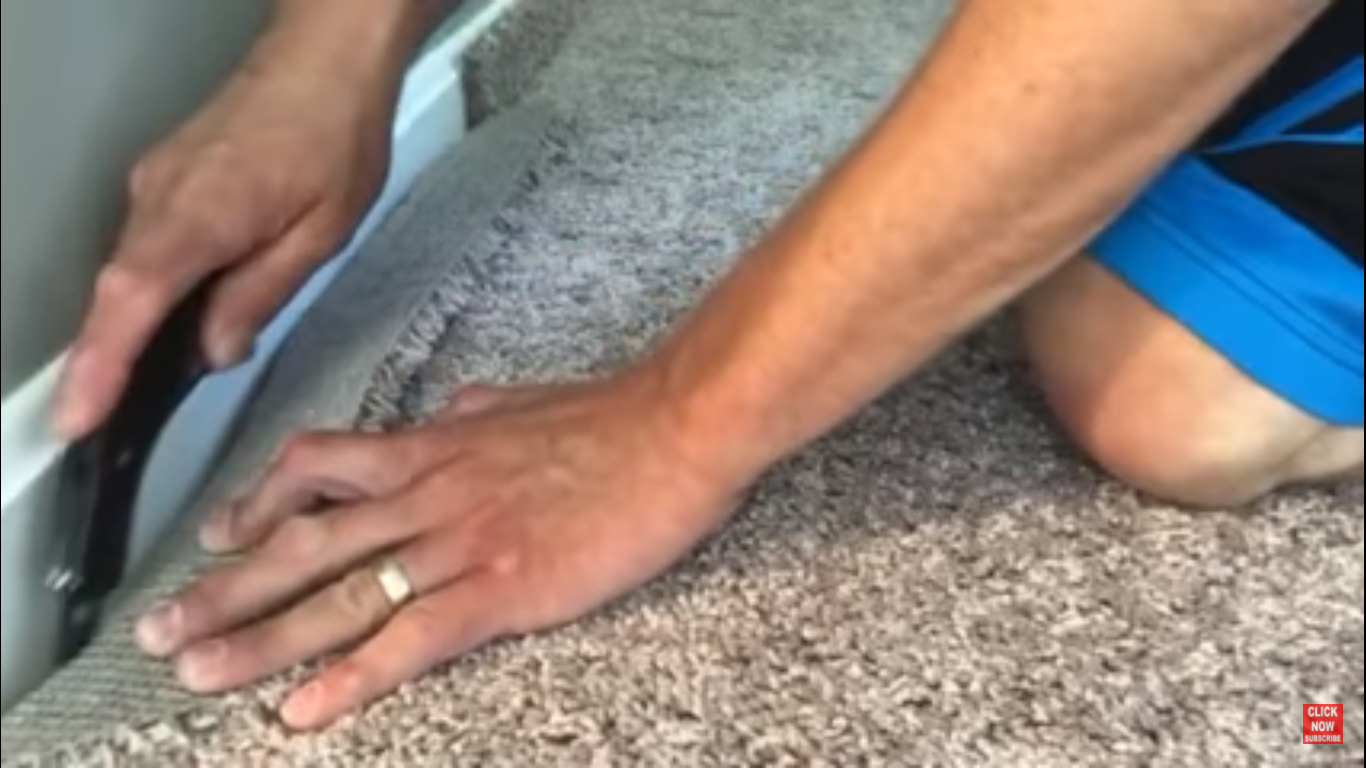
4: Open up the outer edge of the rug. Pick the carpet free from walls and corners later using a claw hammer, pry bar, or set of pliers. That way, it would not snag on anything or give resistance when it comes time to take it away. Once you have got the edges, go around the perimeter of the room and loosen the rest of the carpet by hand.
-
- If you are having trouble, use your utility knife to leave the carpet where it attaches to the baseboards.
- Once the carpet has been cut and untied, you can easily roll it up, take it out and place of it
5: Place of any leftover materials. Before you call it a day, examine the flooring under the carpet closely. Dig out any staples or concentrated clumps of adhesive you see with a floor scraper, then vacuum-clean the area of trash. After you have cleaned up, you can go on to place new carpet, hardwood, tile, or laminate.
-
- Unless you are intending on repurposing your old carpet, it can easily be thrown away once the project is complete. Dig out any leftover staples or dried clumps of adhesive with a floor scraper.
- A shop vac is the most reliable way to collect dust, stray threads, and other materials that are left lying around after extraction.